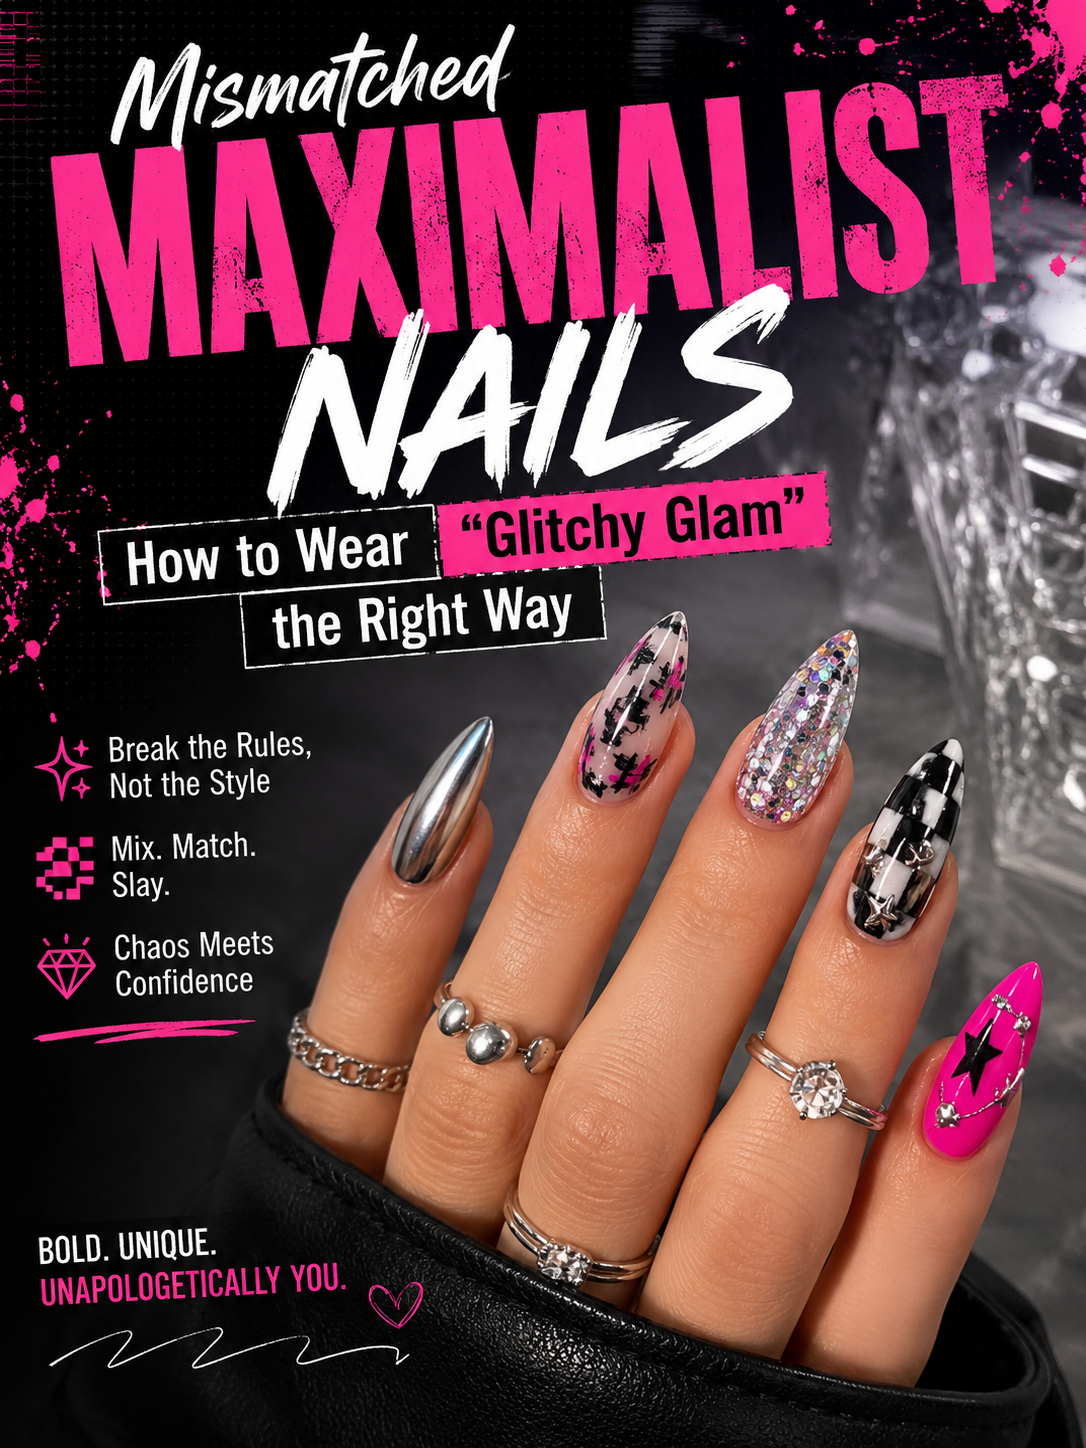
Mismatched Maximalist Nails: How to Wear “Glitchy Glam” the Right Way
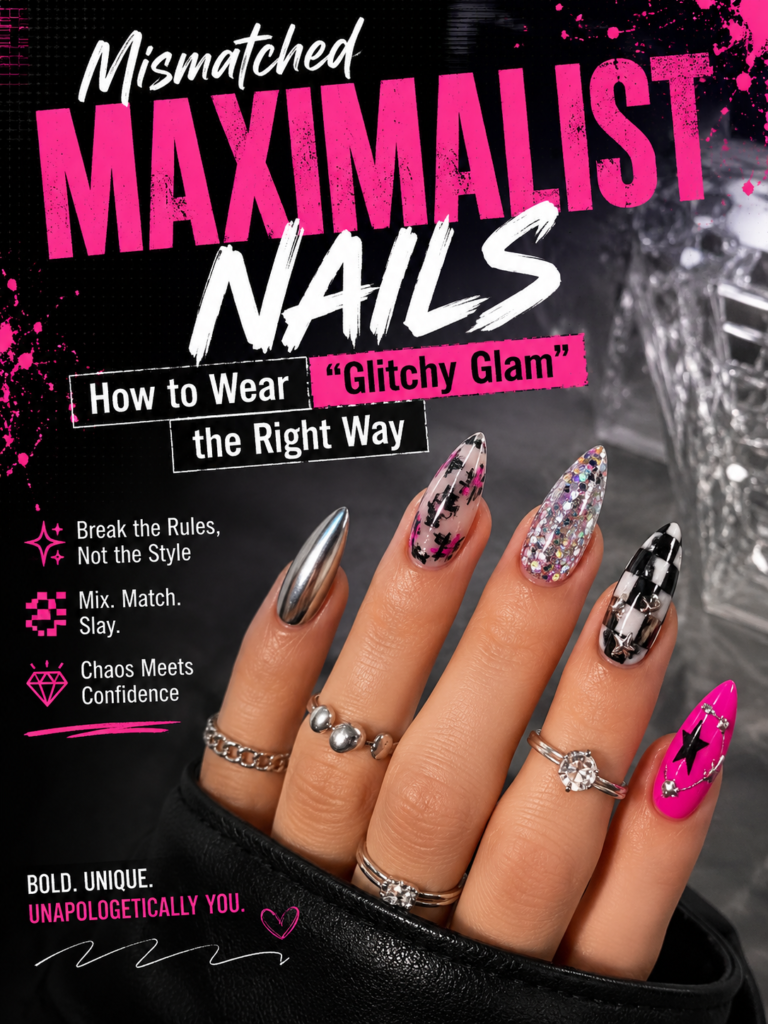
1. The Anatomy of “Glitchy Glam”
Glitchy Glam merges the visual language of high-tech digital corruption with luxury nail enhancements. It pairs harsh digital artifacts—scanlines, RGB chromatic displacement, thermal imaging, and pixelation—with classic tactile luxury such as mirror chromes, sculpted builder gels, velvet magnetic finishes, and faceted gems.
+-------------------------------------------------------------------------+
|                         THE GLITCHY GLAM SPECTRUM                       |
|                                                                         |
|  [HIGH-TECH ARTIFACTS]                       [ORGANIC / LUXURY METALS]  |
|  - CRT Scanlines                             - Molten Chrome Drips      |
|  - RGB Chromatic Aberration                  - Semi-Precious Encapsulation|
|  - Thermal Heat Maps                         - Liquid Mercury Textures  |
|  - Low-Poly Pixel Grids                      - Velvet Magnetic Layers   |
|         \                                                /              |
|          +-----------------------+----------------------+               |
|                                  |                                      |
|                                  v                                      |
|                 [CONTROLLED MAXIMALIST HARMONY]                         |
|                   Ten Distinct Nail Canvases                            |
|                   Shared Structural Palette                             |
|                   Unified Visual Weight Balance                         |
+-------------------------------------------------------------------------+
Visual Characteristics
- Deliberate Asymmetry: No two nails across either hand share identical compositions. A left thumb may carry an opaque, molten chrome crest over a deep charcoal base, while the right thumb utilizes a transparent glass nail extension embedded with optical film.
- Textural Friction: Matte textures placed against mirror-finish chromes; slick, high-gloss bases contrasted with rough-cut 3D structural elements.
- Digital Nostalgia (Web-Core & Cyberpunk): Visual cues pulled directly from early-2000s monitor hums, corrupted video signals, circuit boards, and futuristic user interfaces.
- Structural Architecture: Flat gel paint is treated only as a foundation layer. The final design relies on height, depth, and tangible physical relief created with builder gels, acrylic overlays, and embedded objects.
2. Core Composition Theory: The 60/30/10 Balance Rule
Maximalism fails when it lacks structural restraint. Ten completely independent, high-saturation, high-texture nails create visual clutter where individual details are lost. To maintain impact, construct the set using the 60/30/10 Rule of Visual Weight:
| Component | Target Ratio | Purpose | Formulation & Textures |
|---|---|---|---|
| Grounding Base | 60% | Anchors the eye and creates negative space | Sheer black smoke jelly, milky nude builder, translucent quartz, sheer gray washes. |
| Graphic Midground | 30% | Delivers digital and thematic motifs | RGB-offset stars, thermal blooming auras, printed circuit linework, micro-checkerboards. |
| Focal 3D Architecture | 10% | Provides physical height and specular reflection | High-viscosity sculpted chrome drops, raw mineral charms, encapsulated wire, pierced nail hardware. |
3. The 10-Finger Architecture Matrix
Map the ten nails systematically prior to application. Distribute visual weight across both hands so neither side feels bottom-heavy or cluttered.
LEFT HAND: "CYBERPUNK DISTORTION"
===========================================================================
[01. THUMB]  Statement Anchor ──► Sheer black jelly base + Solid molten silver crest
[02. INDEX]  Graphic Focus    ──► RGB chromatic aberration cyber-sigil on milky base
[03. MIDDLE] Textural Field   ──► Non-wipe velvet matte + Glossy liquid metal run-offs
[04. RING]   Negative Space   ──► Transparent glass tip + Holographic CRT scanline grid
[05. PINKY]  Accent Point     ──► Neon thermal aura flare + Single bezel-set crystal

RIGHT HAND: "LIQUID ANALOG"
===========================================================================
[06. THUMB]  Complementary    ──► Mirror gunmetal chrome base + 3D clear dewdrop bubbles
[07. INDEX]  Negative Space   ──► Sheer smoke wash + Free-floating chrome cyber-ring
[08. MIDDLE] Graphic Focus    ──► Distorted low-poly checkerboard + Glass gloss coat
[09. RING]   Statement Anchor ──► Encapsulated silver wire + Crushed iridescent foils
[10. PINKY]  Textural Field   ──► Deep cat-eye velvet magnetic + High-relief border frame
4. Master Color Palettes
A defined color palette keeps mismatched designs visually linked. Choose one primary anchor, one high-contrast accent, and one metallic medium:
Palette 1: Cyber Deep-Space
- Base Anchor: Obsidian Jelly (#0A0A12)
- Secondary Medium: Cool Liquid Mercury (#C0C0C8)
- High-Voltage Accents: Electric Cyan (#00F0FF) and Acid Rose (#FF0055)
- Finish Contrast: Non-Wipe Velvet Matte against Specular High-Gloss
Palette 2: Toxic Mecha
- Base Anchor: Industrial Slate Gray (#1F2421)
- Secondary Medium: Burnished Gunmetal Chrome (#697075)
- High-Voltage Accents: Phosphor Green (#39FF14) and Sheer Opal (#E6E6FA)
- Finish Contrast: Granular Matte against Slick Clear Droplets
Palette 3: Digital Ethereal
- Base Anchor: Semi-Sheer Milky Whey (#F4F0EC)
- Secondary Medium: Pale Molten White-Gold (#FFD700)
- High-Voltage Accents: Deep Cyber Lavender (#8A2BE2) and Prismatic Pearl
- Finish Contrast: Ultra-Gloss Glass against Raw Texture Chrome
5. Technical Execution: Matte Smoke Base with 3D Chrome Circuitry
This step-by-step procedure creates a durable, high-contrast Glitchy Glam nail using negative space, selective chroming, and structural builder gels.
+-------------------------------------------------------------------------+
|                     APPLICATION FLOW & LAYER ORDER                      |
|                                                                         |
|  [Layer 5] Detail Top Coat ──────► Selective Gloss over 3D Chrome Only  |
|  [Layer 4] 3D Architecture ──────► High-Viscosity Gel + Chrome Powder   |
|  [Layer 3] Barrier Layer   ──────► Fully Cured Non-Wipe Velvet Matte    |
|  [Layer 2] Graphic Design  ──────► RGB Linework + Smoke Jelly Bloom     |
|  [Layer 1] Base Foundation ──────► Dehydrator + Primer + Rubber Base    |
+-------------------------------------------------------------------------+
Phase 1: Nail Preparation and Substrate Build
- Mechanical Prep: Gently push back the proximal nail fold and clear all non-living tissue from the nail plate using a diamond flame bit at 6,000 RPM. Lightly buff the surface with a 240-grit buffer to remove shine.
- Chemical Dehydration: Cleanse the plate with a 99% isopropyl alcohol and pure acetone blend. Apply an acid-free bonding primer along the free edge.
- Foundation Coat: Apply a thin, even layer of rubber base gel. Reinforce the natural apex to support the added weight of 3D gel components. Cure in a 48W LED lamp for 60 seconds.
Phase 2: Negative Space and Distortion Background
- Smoky Negative Base: Apply one thin, uniform coat of sheer black jelly gel. Do not cure yet.
- Blooming Aura Center: Place a small bead of sheer milky-white gel directly into the center of the wet black jelly. Use an ombre sponge or fine liner brush to feather the edges outward in concentric circles, creating a faded monitor glow. Cure for 60 seconds.
- RGB Chromatic Aberration Detail:
- Using a 7mm liner brush, paint a four-point cyber-star in the nail center with pure white art gel.
- Paint a 0.5mm parallel line immediately adjacent to the left edge of the white star using neon cyan gel.
- Paint a matching 0.5mm parallel line along the right edge using neon magenta gel.
- Cure for 30 seconds.
- The Matte Isolation Barrier: Apply a coat of non-wipe velvet matte topcoat across the entire nail plate. Cure for a full 60 to 90 seconds.
Critical Step: Chrome powder adheres to any tacky dispersion layer or semi-cured gloss. A fully cured, non-wipe matte coat acts as an isolation barrier, ensuring chrome adheres only to the upcoming 3D lines.
Phase 3: Sculptural 3D Linework and Selective Chroming
- 3D Gel Architecture: Load a detail liner brush with high-viscosity, non-wipe 3D sculpture/clay gel. Paint raised, asymmetrical lines across the nail plate to simulate fluid circuit traces, terminating in raised, organic teardrops.
- Flash-Cure for Powder Adhesion: Cure the 3D gel for 15 to 20 seconds in an LED lamp. The gel must be set enough to hold its form and become tack-free, but not fully cured, which prevents chrome powder from bonding.
- Burnishing Chrome: Apply mirror silver chrome powder using a silicone applicator tool. Rub the powder firmly across the raised 3D lines. The powder will bond cleanly to the 3D gel while sliding off the cured matte background.
- Dusting: Sweep away excess chrome dust using a clean, ultra-soft kabuki brush.
Phase 4: Structural Sealing and Protection
- Targeted Top Coating: Using a zero-gauge detail brush, apply a high-gloss, non-wipe topcoat only over the chromed 3D lines. This locks the chrome in place and preserves the contrast against the matte background. Cure for 60 seconds.
- Edge Sealing: Cap the free edge with clear hard builder gel to prevent mechanical delamination.
- Nail Conditioning: Apply cuticle oil directly along the eponychium and lateral nail folds, taking care not to drag oil across the matte surface.
6. Pro Troubleshooting Matrix
+---------------------------------------------------------------------------------------------------+
| PROBLEM                        | ROOT CAUSE                         | CORRECTIVE PROTOCOL         |
+--------------------------------+------------------------------------+-----------------------------+
| Chrome sticks to matte base    | Matte topcoat under-cured or       | Cure matte coat for 90s;    |
|                                | retains microscopic tackiness      | wipe matte surface with     |
|                                |                                    | alcohol before 3D art.      |
+--------------------------------+------------------------------------+-----------------------------+
| 3D chrome details flake off    | 3D gel over-cured before rubbing,  | Reduce flash cure to 15s;   |
| after 48-72 hours              | or detail topcoat missed the edges | seal chrome entirely with   |
|                                |                                    | gloss gel using fine brush. |
+--------------------------------+------------------------------------+-----------------------------+
| Design feels visually noisy    | Too many high-opacity primary bases| Convert 60% of nails to     |
| and disjointed                 | competing for visual dominance     | sheer jelly, smoke washes,  |
|                                |                                    | or clear negative space.    |
+--------------------------------+------------------------------------+-----------------------------+
| Chrome oxidizes / dulls        | Harsh topcoat chemicals or         | Use water-based or dedicated|
| into a cloudy gray sheen       | aggressive brush friction          | non-wipe chrome sealers;    |
|                                |                                    | float topcoat over powder.  |
+--------------------------------+------------------------------------+-----------------------------+
7. Salon Maintenance, Refills, and Safe Removal
Salon Rebalancing Protocol (3–4 Week Infill)
- De-bulking: Never soak off a structured 3D set directly with acetone. Use a medium-to-coarse carbide e-file bit at 12,000–15,000 RPM to grind down raised 3D elements and chrome layers.
- Apex Rebalance: Thin the remaining base layer down to 20% thickness, check for lifting around the proximal fold and lateral walls, prep the new growth area, and rebuild the apex with fresh builder gel.
Safe Soak-Off Process
- Use designated nail charm nippers to snap off oversized physical gems and heavy charms.
- File away the entire topcoat layer and 70% to 80% of the underlying gel structure using a 100/180 hand file or safety e-file bit.
- Saturate pure cotton pads in 99% acetone, place them over the nails, and wrap securely in aluminum foil or specialized soak-off clips.
- Allow product to soften for 15 to 20 minutes. Gently scrape away softened gel using an orangewood stick held at a 45-degree angle. Never force product off the natural nail plate. Lightly buff and apply cuticle oil.